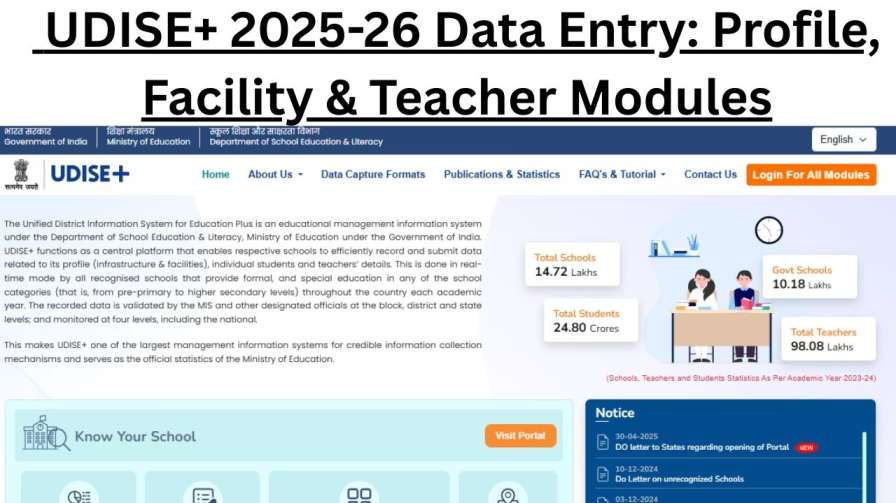
Accurate data is the backbone of effective educational planning. For schools across India, the annual UDISE+ (Unified District Information System for Education Plus) data collection is a critical task that directly influences resource allocation, infrastructure development, and national policy-making. The 2025-26 academic year brings a renewed focus on precise and timely data submission.
This comprehensive guide is designed to be your trusted resource for navigating the UDISE+ 2025-26 Profile & Facility and Teacher Modules. We provide clear, step-by-step instructions, essential tips, and answers to common questions to ensure your school’s data entry is seamless, accurate, and certified without errors.
Why Accurate UDISE+ 2025-26 Data Entry is Non-Negotiable
Before diving into the “how,” understand the “why.” Your school’s UDISE+ data is not just a formality; it’s a powerful tool that:
- Determines Funding and Resources: Governments and agencies use this data to allocate grants, funds, and educational support.
- Guides Policy Formulation: Data on infrastructure, teacher qualifications, and digital initiatives helps shape national education policies like NEP 2020.
- Highlights Gaps: It identifies gaps in facilities, teacher shortages, and training needs, enabling targeted interventions.
- Tracks Progress: Key Performance Indicators (KPIs) from UDISE+ help measure progress towards educational goals.
Inaccurate or incomplete data can lead to missed opportunities, delayed resources, and misinformed decisions that ultimately affect your students.
Part 1: Mastering the Profile & Facility Module (UDISE+ 2025-26)
This module captures your school’s core identity and infrastructure.
Step 1: Logging Into the Portal
- Visit the official website: https://udiseplus.gov.in.
- Enter your school’s 11-digit UDISE code as the username.
- Enter the password provided by your Block MIS Coordinator.
- Click “Login” to access your school’s dashboard.
Step 2: Navigating Key Sections
- Section 1A: Basic School Profile: Click on the Data Capture Format (DCF) links (1.1 to 1.3). Enter mandatory details like:
- School location and management type (Government, Private Aided, etc.)
- Medium of instruction (English, Hindi, State language).
- Always click “Save & Next” to secure your progress.
- Section 1B: Other Details: Provide information on:
- School type (Primary, Secondary, Hr. Secondary).
- Affiliation board (CBSE, ICSE, State Board).
- Year of establishment and respondent details.
- Anganwadi, SMC & Textbooks: Meticulously enter data on:
- Anganwadi centre details.
- School Management Committee (SMC/SMDC) information.
- Free textbooks, uniforms (specify distribution month, e.g., May 2025), and teaching-learning materials (TLM) for each class.
- Key Performance Indicators (KPIs): Input crucial data from the previous year (2024-25), including learning outcomes, cyber safety, and psycho-social training provided to students.
- Safety & Expenditure: Certify school safety standards and provide financial data on grants and expenditure (for government and aided schools).
Step 3: Physical Facilities & Digital Initiatives (Section 2)
This is a detailed inventory of your school’s assets.
- Classrooms & Infrastructure: Detail the number and condition of classrooms, building status, boundary walls, electricity, and water supply.
- Toilets & Water Facilities: Report on toilet/urinal functionality, handwashing stations, and drinking water sources (e.g., RO purifier, rainwater harvesting).
- Other Facilities: Fill in data on the library, playground, health records, first aid, ramps, and kitchen gardens.
- ICT & Digital Initiatives: This is crucial for modern education. Enter details on:
- Number of functional computers and ICT labs.
- Internet availability and speed.
- Access to digital libraries and e-books.
Part 2: A Deep Dive into the Teacher Module (UDISE+ 2025-26)
This module manages all teaching and non-teaching staff data.
Step 1: Adding Teaching Staff
- From the dashboard, select the “Teacher Module.”
- Click “Add Teaching Staff.”
- Enter the following mandatory details accurately:
- Name, Gender, Date of Birth.
- Aadhaar Number (Critical for generating the National Code).
- Social Category, Academic and Professional Qualifications.
- Mobile Number and Email.
- Subjects Studied and Appointment Type (Regular/Contract).
- Appointment & Training Details: Specify the classes and subjects taught. Update training records (NISHTHA, cyber safety, special needs training).
- Click “Save & Next” and confirm all details.
Step 2: Adding Non-Teaching and VTP Staff
- Non-Teaching Staff: Click “Add Non-Teaching Staff,” fill in similar details, and select their current post from the dropdown menu.
- VTP Staff: For vocational staff, click “Add VTP Staff,” enter qualifications, and specify their appointed sector (e.g., IT, Agriculture).
Step 3: Managing Staff Changes
- Staff Who Have Left: Click “Left School” next to the staff member’s name. Select the reason (retirement, transfer, etc.), add the last working date and remarks.
- Importing Transferred Staff: To add a teacher from another school, use the “Import Staff” feature. You will need their National Code and Date of Birth. Select the joining date and appointment type to complete the import.
- Mapping Head of School (HoS): Use the “Map” button to officially designate the Head of School.
The Final Step: Certification
- Once all staff data is 100% verified and complete, click “Click here for Certification.”
- Add any required remarks and click “Certify.”
- ⚠️ Important Warning: Any subsequent addition, deletion, or edit to staff details will reset the certification status to “Not Certified.” You must re-certify after any change.
